It is important to mount and adjust the TV correctly for a great viewing experience for the customer. You can improve the viewing experience by adjusting the TV’s angles.
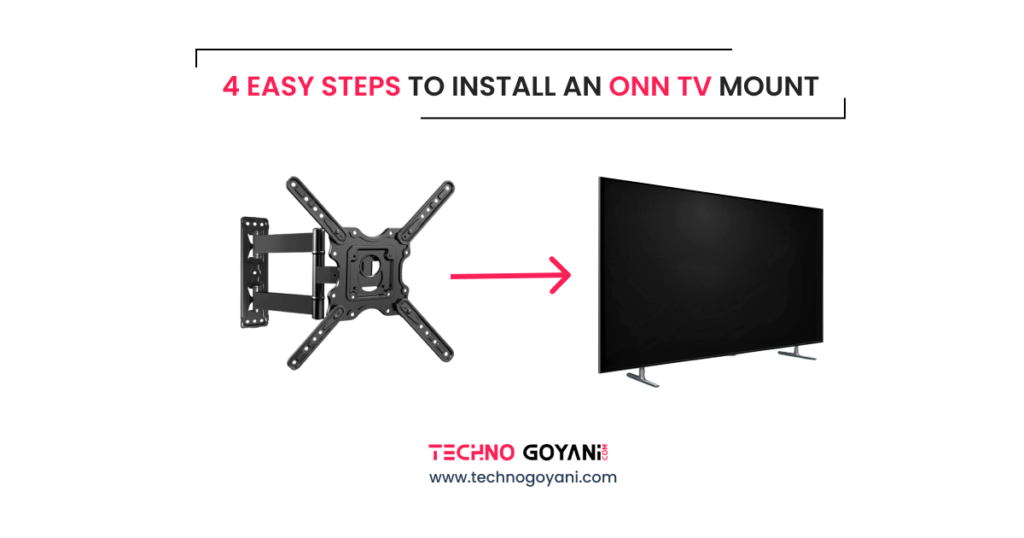
And for the best experience Full motion tv mount is the best option. It allows you to adjust both the horizontal and vertical positions of your screen. Onn is a trusted name known for its quality TV mounts that deliver both style and functionality
Some Users face the issue of installing the Onn full-motion mount. To help you, we have prepared 4 easy onn tv wall mount instructions.
Fortunately, the Onn Full Motion TV Wall Mount is a user-friendly option that comes with easy-to-follow instructions.
In this guide, we will walk you through the steps to install the Onn Full Motion TV Wall Mount so you can enjoy your favorite shows in style.
How to install Onn tv wall mount?
As we’ve discussed before, Using full-motion mounts you can adjust both the tilt and swivel of your TV for maximum viewing comfort.
These mounts allow you to move your TV a few inches away from the wall and give you more flexibility to customize your viewing experience.
Onn is one of the leading names in the market when it comes to wall mount, they provide 2 types of wall mount depending on your size, as mentioned below
- Mount for TVs between 19” inches and 50” inches
- Mount for TVs between 51” inches and 84” inches
The installation process for both wall mounts is the same, so by following these instructions you can hang both onn tv mount.
Before we go ahead, here are some materials that you may need while hanging the mount on the walls.
Materials Needed
- Onn Full Motion TV Wall Mount
- Stud finder ( only if you have drywall)
- Level
- Power drill
- Drill bits
- Screwdriver
- Measuring tape
- Pencil
The Onn Wall mount box already contained the mount and the mounting screws with their own washers, an Allen key, and anchors. So Onn provides all the necessary parts that you need to hang the wall mount.
Step 1: Determine TV Placement
Before installation, First, you need to determine where you want to place your tv. It could depend on room layout, viewing angle, and available space.
Step 2: Install the Wall Plate
The wall mount comes with 2 pieces. A wall plate and Tv bracket. The wall plate will be already assembled. But you may need to assemble the TV bracket before attaching it to the screen.
These parts are already included in the box and in the plastic bag, if you are not able to identify then you can also use the manual (Inside the box).
A mounting template is also included in the package. It includes all measurements.
2.1 Wood Stud Installation
Warning: don’t use a 10×50 mm Anchor for wood stud installation
The Wood stud minimum size is 2×4’’, and the surface covering can’t be more than 5/8″.
Step 1: Once you decide the best place for your tv then use a stud finder to locate the studs inside the walls. This will ensure that your TV is securely anchored and won’t fall off the wall.
If you have concrete, stone, and masonry walls then you can check 2.2 Concrete, Stone or Masonry Installation.
Step 2: Place the hanging template at the center of the stud line and mark 3 holes using a pencil.
Step 3: Pre-drill 3 holes by 5/32” ( 4mm ) wood drill bit to a depth of 2.36” ( 60mm )
Step 4: Fix the Wall plate to the wall with M7x55mm Lag bolts.
2.2 Concrete, Stone, or Masonry Installation
The Concrete wall minimum thickness is 5.5”, and the surface covering can’t be more than 3/8″
Also, this mount can only be installed on a perpendicular wall, not on the ceiling.
Step 1: Use the measurement template and place it on the wall and mark the 3-hole location.
Step 2: Pre-drill 3 holes by 3/8” ( 10mm ) Masonry drill bit to a depth of 2.36” ( 60mm ).
Step 3: Insert Anchors 10×50 mm into the wall and use a hammer to lightly tap them into the wall.
Step 4: Now wall plate to the wall with M7x55mm Lag bolts.
Step 3: Attach the TV Bracket
Now To attach the tv bracket first lay the tv on a soft surface that will not damage the screen of the tv. Attach the brackets to the TV.
You can attach the bracket according to the height that you require. Make sure that you place both brackets at the same level of height. The brackets can be adjusted by aligning the blots at different levels.
The Onn mount comes with cable management clips which help to keep your cable organized and hidden.
Step 4: Attach the TV to the Wall Piece
This is the last step to hanging your tv. For this step, you need one assistance. Grab the tv from the corner and lift it slowly. Then attach the bracket with the wall mount that we hand on the wall.
Now join both brackets with the main wall plate using M6 screws. Now test the tv stand by adjusting the angles of the tv. Now plug in the power cord plug and you’re ready to watch.
Video instruction
Conclusion
So now we come to the end of the question Onn tv mount instructions.
Congratulations, you have successfully installed your Onn Full Motion TV Wall Mount! Not only does it look great, but it also frees up valuable floor space in your room.
Thank you for visiting Us and I Hope to see you again at Techno Goyani.