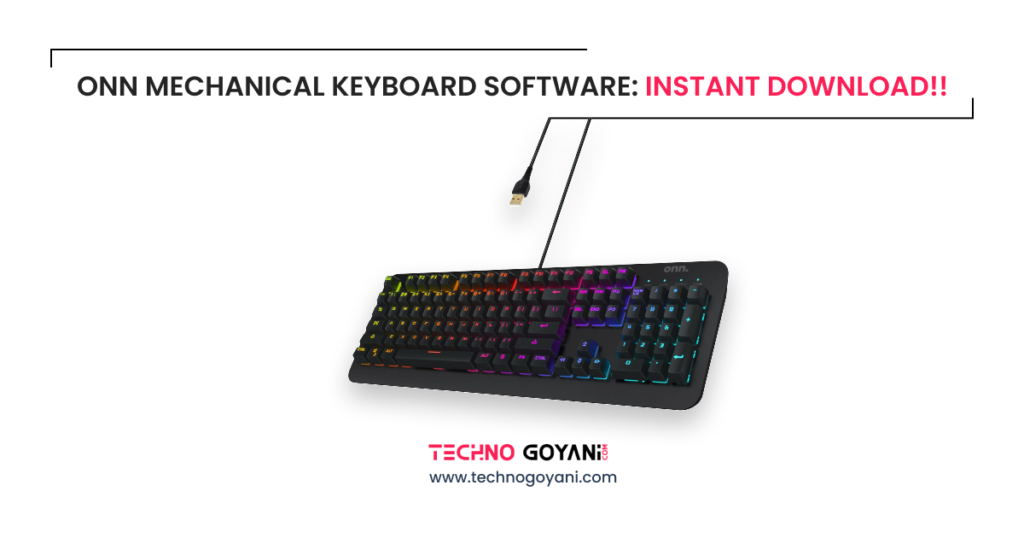
So you just picked up an ONN mechanical keyboard. Whether you went with a clicky RGB model or a sleek gaming setup, it works great straight out of the box. You plug it in, and you can start typing immediately.
But if you want to actually control the RGB lighting, set up custom macros, or remap your keys, “plug and play” isn’t enough. You need the dedicated software to unlock the keyboard’s full potential.
Finding the right setup files can sometimes be frustrating. To make things easy, we have provided the official download links hosted directly in our download section below. This independent guide will walk you through exactly how to get your software installed and your keyboard fully customized in under five minutes.
Why Do You Need the Software?
Without the software installed, your keyboard will likely cycle through a default rainbow pattern, and your macro keys will remain unassigned. Installing the software gives you access to:
- Total RGB Customization: Change lighting effects, adjust brightness, set the speed of breathing/wave effects, or assign static colors to match your desk setup.
- Per-Key Lighting: On supported mechanical models, you can color-code specific keys (like making your WASD keys a different color for gaming).
- Macro Programming: Record multi-step keystrokes and assign them to a single macro key to save time in games or daily productivity tasks.
- Custom Profiles: Save different lighting and keybinding profiles for work, media, and specific games.
Where to Get the Software
You don’t need to go hunting across the web. You can grab the software directly from the Download Section at the bottom of this page, where we have hosted the official download links for your convenience.
Just scroll down, find the file that matches your specific keyboard model, and click download.
Step-by-Step Installation Guide
Step 1: Connect Your Keyboard
Before installing anything, make sure your keyboard is plugged into your PC.
- Wired: Plug the USB cable directly into the motherboard or a primary USB port on your laptop.
- Wireless/Bluetooth: Ensure the USB receiver is plugged in, or the keyboard is actively paired to your computer via Windows Bluetooth settings.
- Wait a moment for Windows to automatically recognize the device and install the generic basic drivers.
Step 2: Download the Setup File
Head down to our download section below and click the link for your specific ONN keyboard model. The file is relatively small and should finish downloading in seconds.
Step 3: Run the Installer
- Open your Downloads folder.
- Double-click the
.exesetup file you just downloaded. - If Windows prompts you with “Do you want to allow this app to make changes to your device?”, click Yes.
- Click through the installation wizard (Next → Install → Finish).
Step 4: Start Customizing
Once installed, you can launch the application from your desktop or system tray (in the bottom right corner of your taskbar). The software should immediately recognize your connected keyboard and open up the dashboard.
From here, navigate to the Lighting or Backlight tab to stop the default rainbow wave and choose your preferred colors!
Troubleshooting Common Issues
If you run into any hiccups during setup, try these quick fixes:
- Software says “Device Not Found”: Close the application completely. Unplug your keyboard, wait five seconds, and plug it into a different USB port. Reopen the software.
- App crashes on launch: Right-click the desktop icon and select “Run as Administrator.”
- Lighting changes aren’t saving: Ensure you are clicking both “Apply” and “Save to Profile” (if your model requires it) before closing the app.
(Note to publisher: Insert your direct download buttons/links immediately below this section so users can easily find them.)